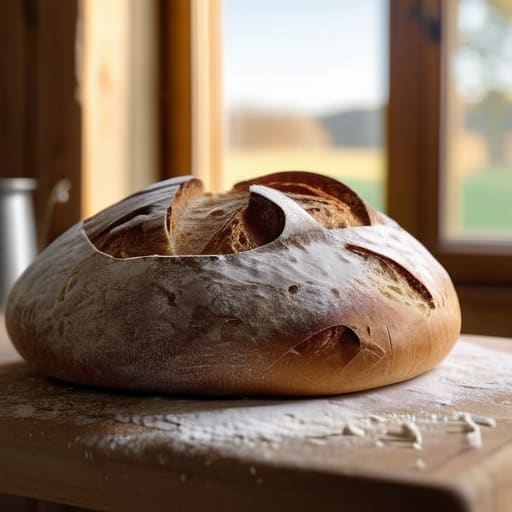
I still remember sitting on a low wooden stool in a tiny, flour-dusted bakery in Lyon, watching an elderly woman work a piece of dough with nothing but her palms and a rhythmic, almost meditative patience. There were no digital scales, no expensive stand mixers, and certainly no complicated timers—just the scent of yeast blooming in the warm air and the heavy, comforting weight of the grain. It was in that moment I realized that most of the advice out there regarding baking bread for beginners is completely disconnected from the actual soul of the craft. We’ve been told we need precision instruments and a degree in chemistry just to get a decent crust, but that’s a lie that keeps people from ever actually starting.
I’m not here to give you a list of high-tech gadgets or intimidating, scientific formulas that leave you feeling more like a lab technician than a cook. Instead, I want to strip everything back to the basics and show you how to find your own rhythm with the dough. My promise to you is a collection of honest, tactile lessons gathered from kitchens all over the world. We are going to focus on the feel of the flour and the patience of the rise, ensuring your journey into baking is less about perfection and more about connection.
Table of Contents
Essential Bread Making Equipment for Beginners and Simple Flour Choices
I’ve spent a lot of time watching bakers in small, sun-drenched kitchens from Marseille to Mexico City, and if there’s one thing I’ve learned, it’s that you don’t need a professional laboratory to start. When looking for bread making equipment for beginners, please, don’t let the fancy gadgets in specialty stores intimidate you. All you really need is a heavy bowl, a sturdy spoon, and perhaps a digital scale—measuring by weight is much more reliable than those finicky measuring cups. If you’re feeling particularly adventurous, a Dutch oven can create that beautiful, thick crust I fell in love with during my time in rural France.
As for the foundation of your loaf, the flour you choose matters more than you might think. While all-purpose flour works in a pinch, I always suggest experimenting with different types of bread flour to see how the protein content changes the texture. For those days when you’re feeling a bit overwhelmed, I highly recommend easy no-knead bread methods; they allow the flour and water to do the heavy lifting while you simply wait for the magic to happen. It’s less about precision and more about finding a rhythm with the ingredients.
Learning How to Activate Dry Yeast Without Losing the Magic
I remember sitting in a tiny, sun-drenched bakery in Marseille, watching the baker work. He didn’t use a timer or a digital scale; he just watched the yeast. To him, the yeast wasn’t just an ingredient; it was a living thing. When you’re starting out, it’s easy to treat a packet of granules like mere powder, but learning how to activate dry yeast is actually your first lesson in patience and observation.
You want to create a little sanctuary for those microscopic organisms. I always use lukewarm water—never hot, or you’ll kill the magic instantly—and a tiny pinch of sugar to give them a head start. If you wait about five to ten minutes, you’ll see something beautiful happen: a thick, creamy foam will rise to the surface. That frothiness is your green light. If the water stays still and lifeless, don’t bother moving forward; it’s one of those common bread baking mistakes that can turn a hopeful morning into a heavy, flat disappointment. Treat the process with a bit of respect, and the dough will reward you.
The Little Things That Change Everything
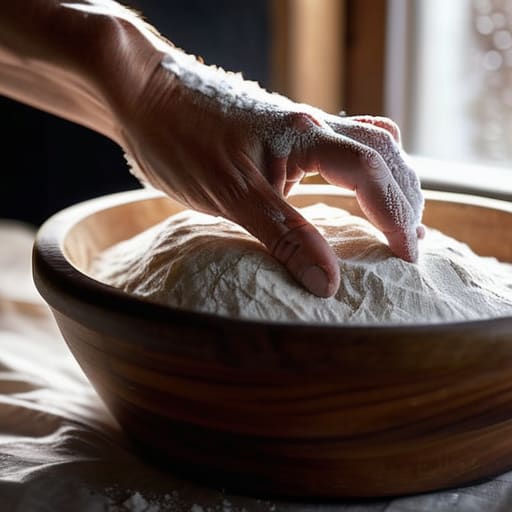
- Don’t rush the rise. I know it’s tempting to turn up the heat when the dough looks stubborn, but bread is a living thing that needs patience. I once watched an old baker in a small village in Provence wait hours for a single loaf, and he always said the flavor lives in the slow moments.
- Get a digital scale and ditch the measuring cups. Flour is temperamental; a “cup” can weigh differently depending on how tightly you pack it. If you want that consistent, airy crumb, you have to treat your ingredients with a bit of scientific respect.
- Trust your hands more than the recipe. There will come a moment when the dough feels tacky but not sticky, or elastic and strong. Instead of panicking because it doesn’t look like the photo in a cookbook, feel the texture. Your hands will tell you more about the dough than any timer ever could.
- Watch the humidity of your kitchen. Since I move between cities so often, I’ve learned that a rainy afternoon in London requires a different approach than a dry morning in Madrid. If your kitchen feels damp, your flour might need a little extra dusting; if it’s dry, your dough might crave a bit more hydration.
- Embrace the “ugly” loaves. Your first few attempts might be dense, or perhaps a bit lopsided, and that is perfectly okay. Even the most beautiful sourdough I’ve encountered in my travels started with a messy kitchen and a few failed experiments. The magic isn’t in perfection; it’s in the smell of that first warm crust hitting the air.
Small Lessons from the Kitchen Counter
Don’t let the gear intimidate you; a simple bowl, some flour, and a little patience are more important than any high-end gadget you’ll find in a boutique shop.
Treat your yeast with respect—it’s a living thing, and giving it that warm, gentle start is the difference between a flat loaf and something truly soulful.
Focus on the sensory details, like the way the flour feels between your fingers or the scent of the rising dough, rather than just following a rigid set of rules.
The Rhythm of the Dough
“Forget the obsession with perfect timing or expensive gadgets; baking bread is less about following a rigid recipe and more about learning to listen to the dough with your hands, finding that same quiet, grounding rhythm I’ve seen in village bakeries from Marseille to Mexico City.”
Anouk Verhoeven
The Quiet Magic of the First Loaf
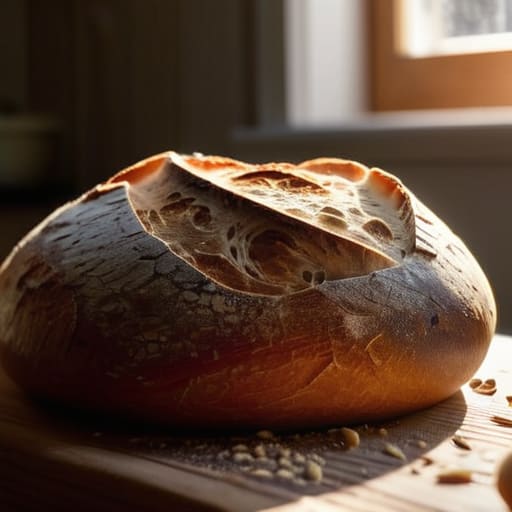
At the end of the day, baking bread isn’t about mastering a complex chemistry experiment or owning every gadget in the culinary aisle. It’s about understanding that the basics—the right flour, a bit of patience when waking up your yeast, and a few essential tools—are all you truly need to get started. You don’t need a professional kitchen to create something profound; you just need to trust the process and allow yourself the grace to make mistakes. Whether your first loaf comes out a bit lopsided or the crust isn’t quite as shatteringly crisp as you imagined, remember that you have successfully transformed raw, simple elements into something that nourishes the soul.
As you pull that warm, fragrant loaf from your oven, I hope you take a moment to just sit with it. There is a specific kind of peace found in the scent of toasted grain filling a room, a feeling I’ve chased through countless small village bakeries across the globe. Don’t rush to slice it or serve it immediately; instead, embrace the stillness of the cooling process. Baking is a slow conversation between you and your ingredients, a way to ground yourself in the present moment. So, flour on your apron, a warm kitchen, and a fresh slice of bread—that is where the real story begins.
Frequently Asked Questions
How do I know if my dough has actually risen enough, or am I just being impatient?
The Finger Poke Test: It’s my favorite way to stop second-guessing myself. Gently press your finger about half an inch into the dough. If it springs back quickly, it needs more time. If it stays indented or slowly fills back in, you’re golden. If it collapses, you might have over-proofed. Honestly, though? Trust your eyes. If the dough looks airy and has nearly doubled in size, it’s ready for the oven.
Can I still make decent bread if I don't have a fancy Dutch oven or a professional kitchen?
Honestly, please don’t let a lack of gear stop you. I’ve baked some of my favorite loaves in tiny, cramped studio kitchens with nothing but a battered baking sheet. If you don’t have a Dutch oven, try placing a shallow pan of water on the bottom rack of your oven; that burst of steam is the real secret to a crusty exterior. It’s about the rhythm of the dough, not the price of the pot.
What should I do if my dough feels too sticky to handle—do I just keep adding flour until it's perfect?
It’s so tempting to just keep dumping flour in until your hands feel clean, but please, resist that urge. I’ve seen so many people do this in small village bakeries, and it’s how you end up with a heavy, dense loaf that lacks soul. If it’s sticking, give it time. Often, a bit of extra kneading or a short rest will help the flour fully hydrate. Trust the process—and your hands.
